No-Knead Buttermilk Bread
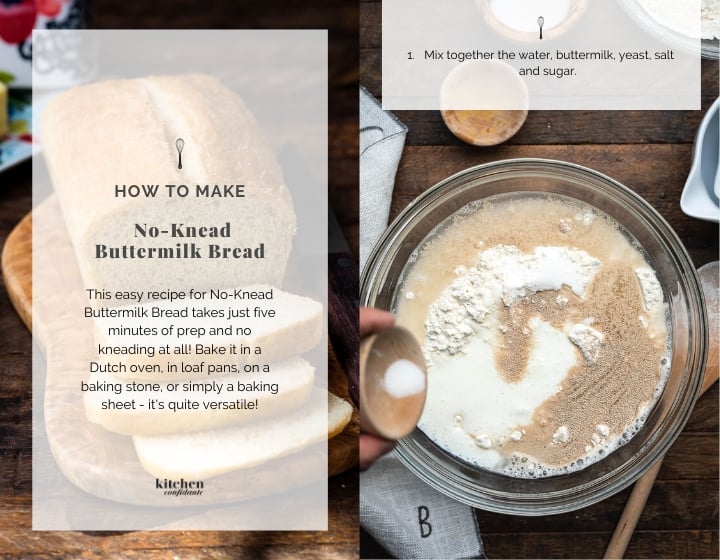
This easy recipe for No-Knead Buttermilk Bread takes just five minutes of prep and no kneading at all! Bake this versatile recipe in a Dutch oven, loaf pans, on a baking stone, or simply a baking sheet!
This easy recipe for No Knead Buttermilk Bread takes just five minutes of prep and no kneading at all! Bake it as an artisan loaf in a Dutch oven, as sandwich bread in a loaf pan, or simply as free form boules. This versatile recipe comes from The New Artisan Bread in Five Minutes a Day.
Note: This post first appeared on Dec 29, 2013, as part of the Simple Sundays Series. The recipe has been updated from the archives with updated content and photographs, as well as improved kitchen notes and recipe annotation. I hope you enjoy this favorite from my kitchen.
I am hibernating. I have been waking up each morning when my body wills me to, without the coaxing of an alarm clock or the pressure to rise before the sun. When I emerge from underneath the down comforter, I wrap myself in my fleece robe, and when I am ready to dress for the day, I pull on more fleece. Fleece pants, fleece vests, fleece-lined sweaters. My husband has been spoiling me with coffee, piping hot, when I wake, just the way I like it. And the children have been lounging in their pajamas for (almost) as long as they wish.
This is what winter break should be like.
The urge to stay indoors and hibernate doesn’t mean I’ve been unproductive. Quite the contrary. I have been nesting, too. We have cleaned and purged and rearranged furniture. And I have been satisfying the urge to bake something other than holiday cookies. Bread has been on my mind. The feel of flour on my hands. The scent of yeast working its magic in the air.
I have one more week to hibernate before the reality of life returns. There will be more lazy starts and I will be wearing more fleece. And one thing is for sure. There will be more fresh bread…not just next week, but beyond.
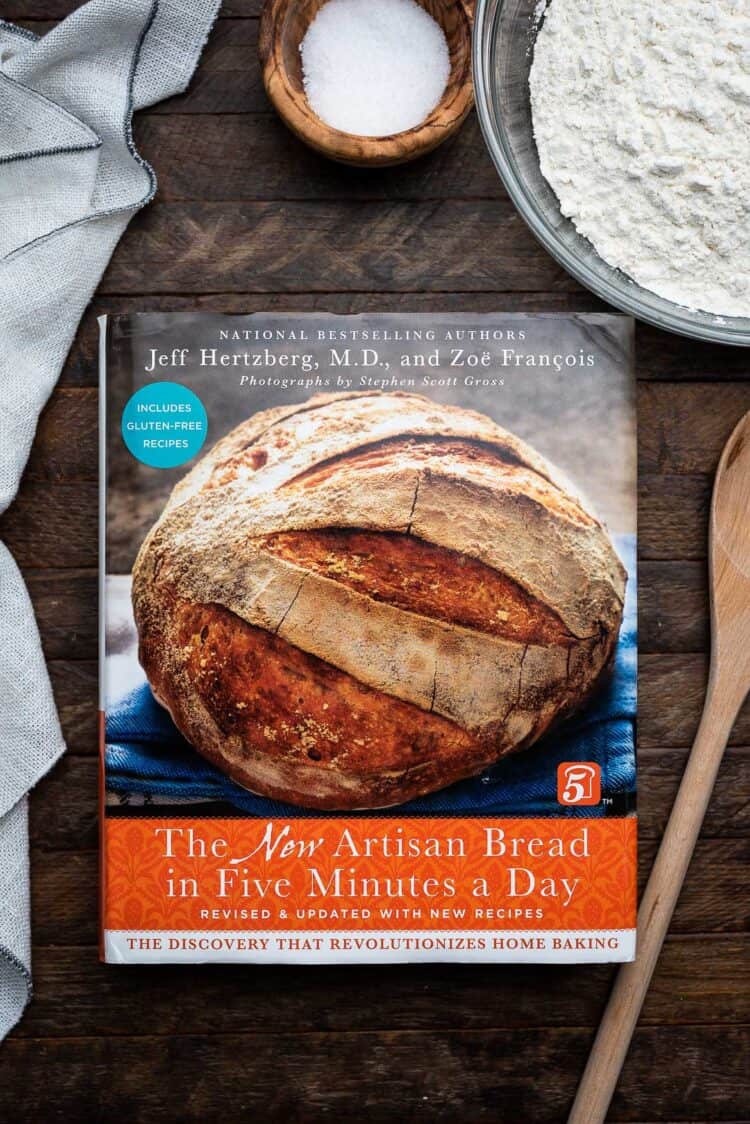
The New Artisan Bread in Five Minutes a Day
I have had several cookbooks I have been meaning to review. The New Artisan Bread in Five Minutes a Day by Jeff Hertzberg, M.D. and Zoe Francois has excited me since its release, and I was eager to review it when the opportunity presented itself. It just took me a little while. Baking bread is something I tend to put off, despite how much I love the process; mentally, I consider it to take up so much time, something that seems lacking in everyday life. But truthfully, I should have known better, because the Bread in 5 concept is something I know I can embrace.
Five minutes. It takes a mere five minutes to bring ingredients together into a dough that will last close to a week. Fresh bread can be had when you wish, with the dough resting in your refrigerator (or freezer, even). What I used to consider a luxury of time is no longer.
No Knead Buttermilk Bread
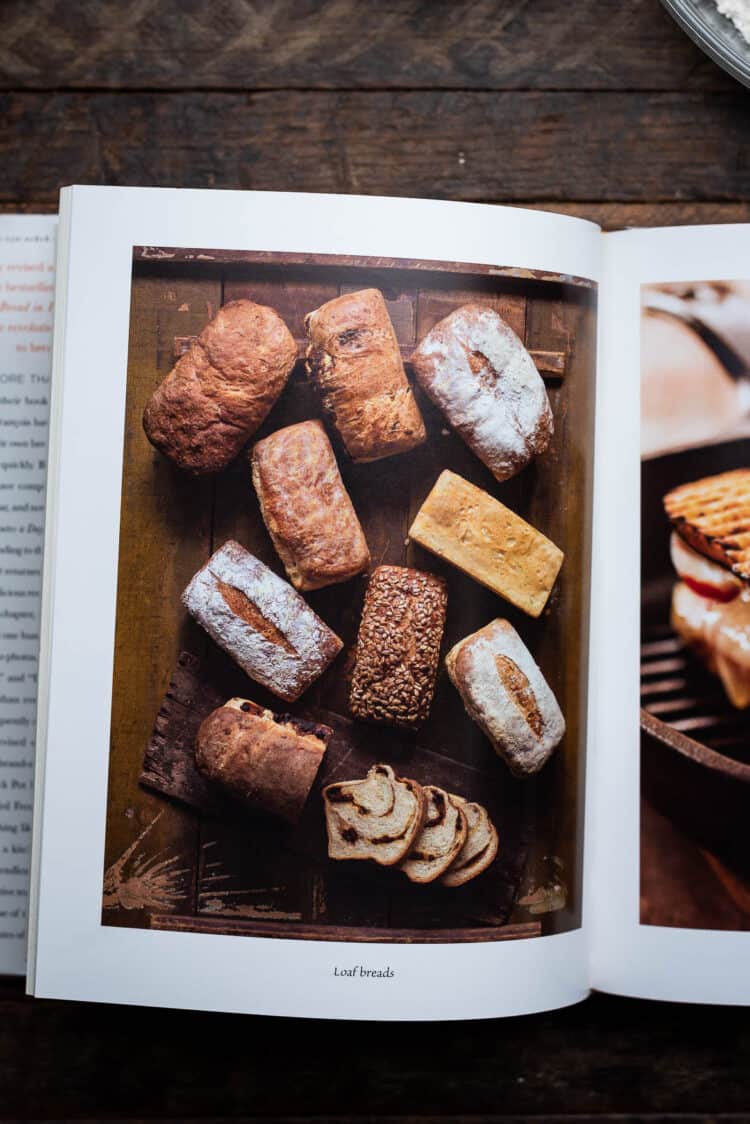
The New Artisan Bread is full of recipes that I would love to tackle – from gorgeous peasant loaves to flatbreads and pizzas, to gorgeous stuffed french toast. There’s even a section for gluten-free breads. The first I wanted to try was a simple Buttermilk Bread, something that is already a store-bought favorite. While the original recipe calls for baking the bread in a loaf pan, I decided to first try it in smaller segments as free form boules, which was wonderful for having smaller, fresh loaves more frequently.
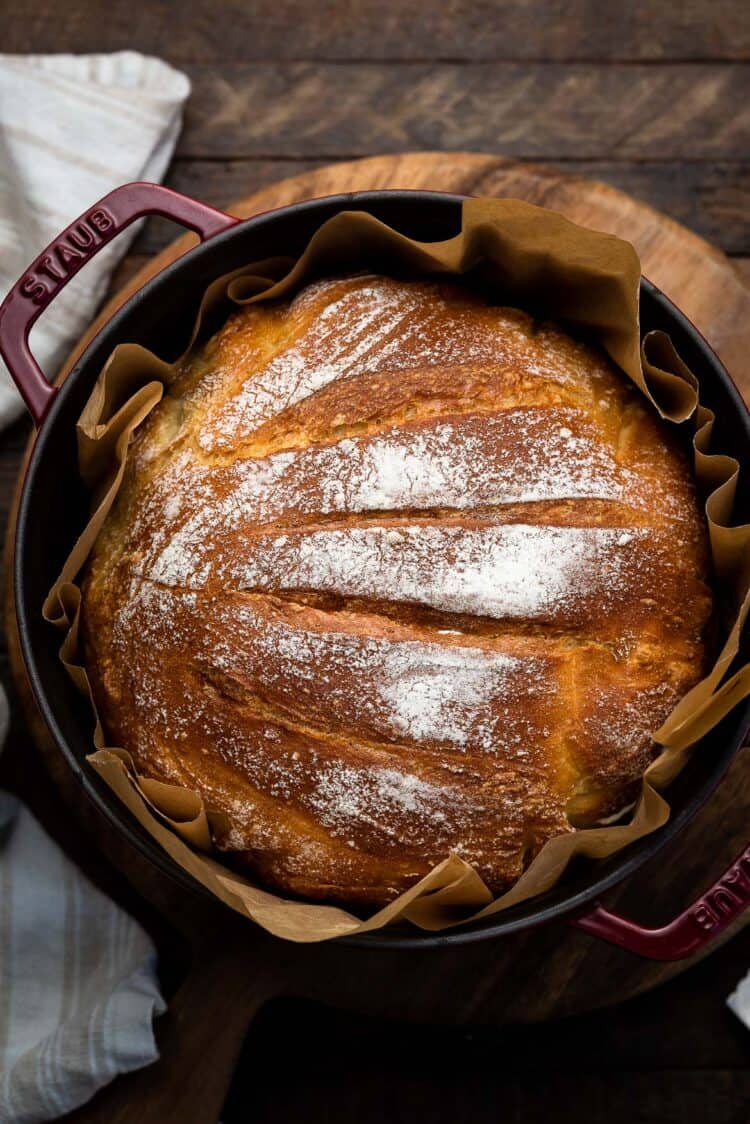
Soon after, I made it as buttermilk sandwich bread, and later, an artisan loaf in the Dutch oven.
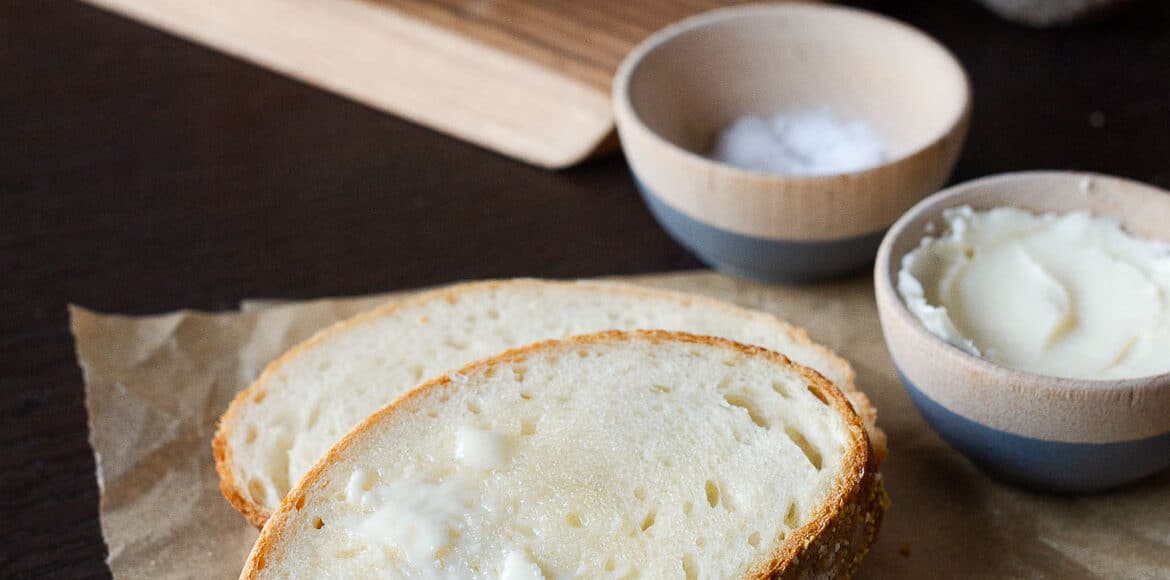
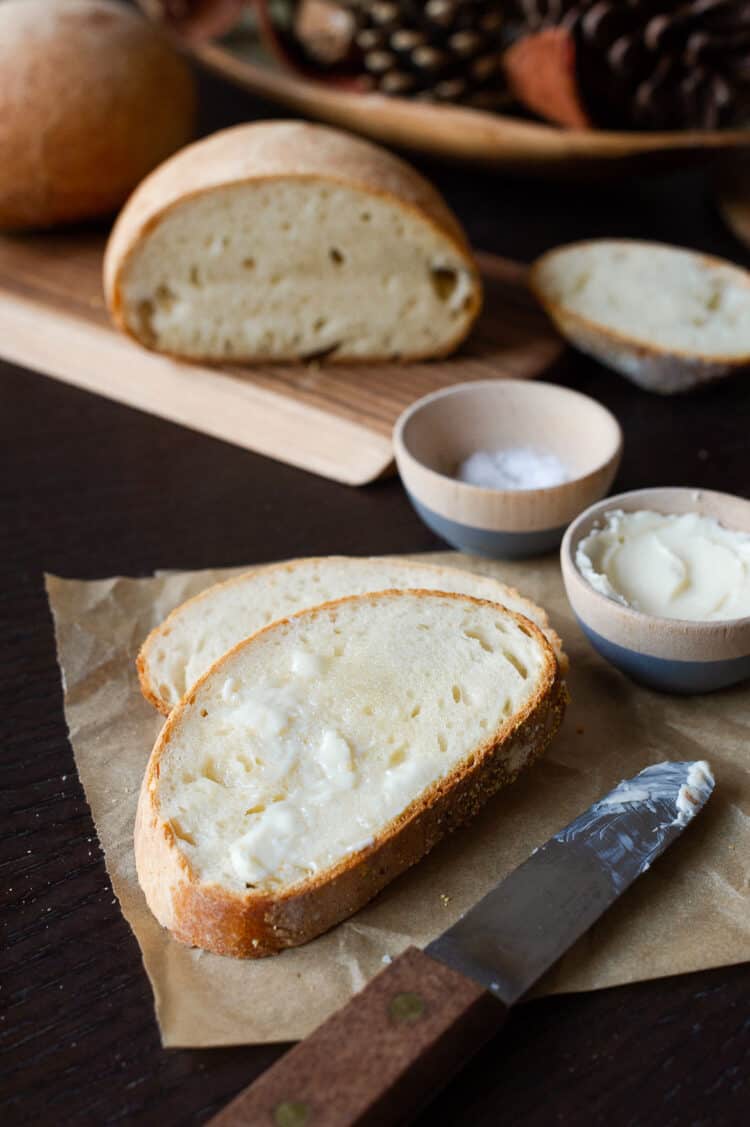
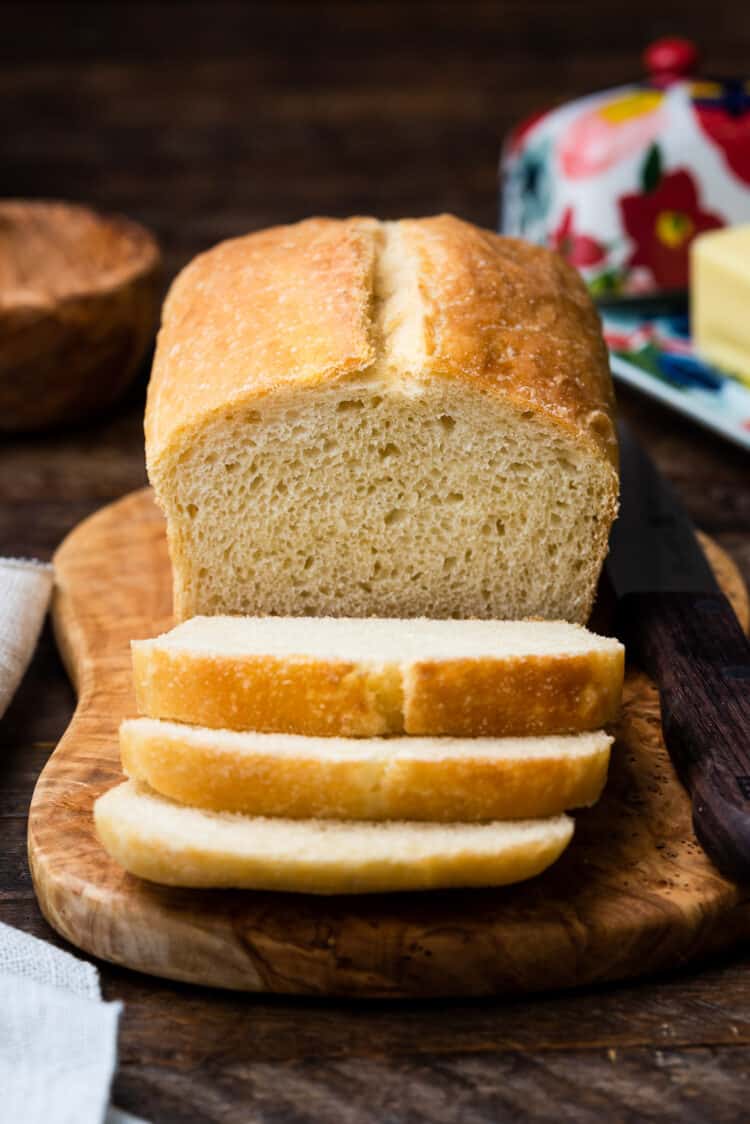
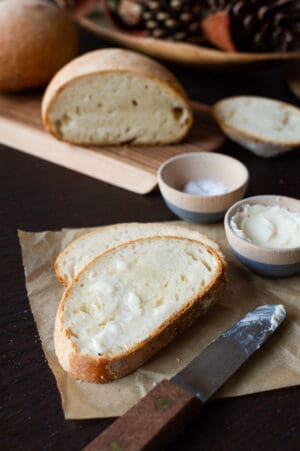
I wish you could smell the bread as it bakes in my oven! It permeates the house with its intoxicating aroma, and it is hard to resist slicing into the loaves and slathering slices with fresh butter and a sprinkling of salt. The spongy crumb within the crisp crust soaked it up, and the loaves are perfect accompaniments to soups like Beef, Shiitake Mushroom & Barley Soup and Lobster Corn Chowder. But plain slices are the best thing ever.
What I’ve learned is that this dough recipe is just so simple, forgiving, and versatile, whether you bake it as sandwich loaves, free form boules, or an artisan loaf in a Dutch oven. Make it with bread flour or all-purpose flour, it works either way. I provide instructions in the recipe below.
Just five minutes is all it takes to prep the dough. And when I say you don’t have to knead, I mean you really don’t have to knead the dough. You’ll end up with a wetter, stickier dough than usual bread recipes.
Once the dough completes its first rise, you could bake right away, but chilling it overnight in the refrigerator allows the bread to develop a deeper flavor, and also makes the dough easier to handle. You can keep it chilled for up to a week, pulling from the dough and baking bread whenever the craving strikes.
More Bread Recipes to Bake
Ensaymada: Filipino Brioche Bread

Disclosure: I received a copy of The New Artisan Bread in Five Minutes a Day, by Jeff Hertzberg, M.D. and Zoe Francois from Thomas Dunne Books, an imprint of St. Martin’s Press for review, however, I was not compensated to write or review the book. All opinions are always my own. Please visit BreadIn5.com to learn more about The New Artisan Bread and for more recipes.
Note: This post first appeared on Dec 29, 2013, as part of the Simple Sundays Series. The recipe has been updated from the archives with updated content and photographs, as well as improved kitchen notes and recipe annotation. I hope you enjoy this favorite from my kitchen.
No-knead Buttermilk Bread
Ingredients
- 2 1/3 cups lukewarm water
- 1 cup buttermilk room-temperature
- 1 tablespoon active dry yeast
- 1 tablespoon kosher salt
- 1 1/2 tablespoons sugar
- 6 1/2 cups bread flour or all-purpose flour, see notes below
- cornmeal for dusting, if using a baking stone
- Melted butter
Instructions
Make the Dough
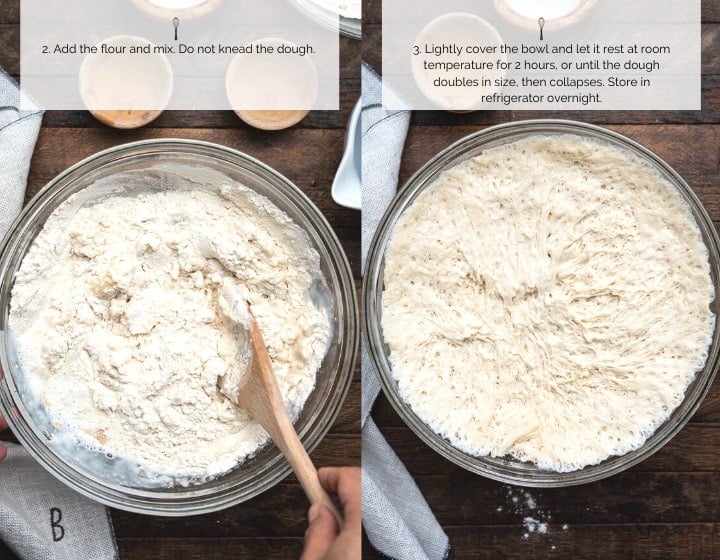
- In the bowl of a stand mixer (or a large bowl, about 6 qt capacity), mix together the water, buttermilk, yeast, salt and sugar. Add the flour and mix using the paddle attachment (or mix by hand with a wooden spoon). Do not knead the dough.
- Lightly cover the bowl and let it rest at room temperature for 2 hours, or until the dough doubles in size, then collapses.
- At this point, the dough can be used immediately, or it can be stored in the refrigerator in a covered container and used within 5 days. The dough can also be stored in the freezer for up to 3 weeks.
- The dough can be baked as a sandwich loaf in a loaf pan, an artisan loaf in a Dutch oven, or as a freeform boule on a baking sheet or baking stone. See baking instructions for each below.
To Bake a Sandwich Loaf
- Preheat the oven to 350°F. Lightly grease an 8 1/2 x 4 1/2-inch loaf pan with baking spray or butter.
- When you are ready to bake, lightly dust the dough and take about 2 lbs of dough (this is half of the full portion). Dust the dough with flour and very lightly knead it and shape it into an elongated ball by stretching the edges of the dough to the middle. Turning the ball seam side down. Lightly cover with a kitchen towel or plastic wrap and let it rest for 90 minutes at room temperature.
- Slash the dough with a serated knife. Brush with melted butter.
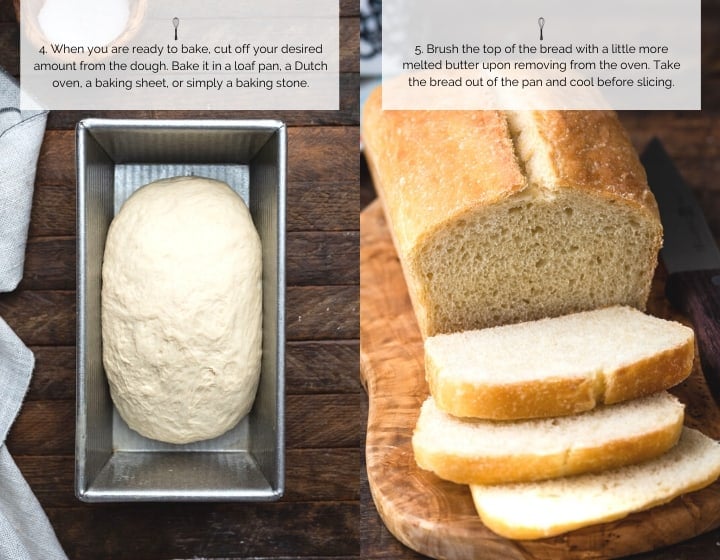
- Place in the oven to bake for 45 minutes, or until the bread is golden brown with an internal temperature of 195° to 205°F. Brush the top of the bread with a little more melted butter upon removing from the oven. Take the bread out of the pan and cool before slicing.
To Bake an Artisan Loaf in a Dutch Oven
- Prepare parchment paper to fit the size of your Dutch oven. Set parchment paper aside. Place the Dutch oven into the oven and preheat the oven to 375°F.
- When you are ready to bake, lightly dust the dough and take about 2 lbs of dough (this is half of the full portion). Dust the portion of dough with flour and very lightly knead and shape it into a ball by stretching the edges of the dough to the middle. Turning the ball seam side down. Place in the parchment paper, dust with flour, and lightly cover with plastic wrap or a large bowl, and let it rest for 90 minutes at room temperature.
- If you wish, use a serrated knife to slash the dough in your desired pattern, just cutting about 1/4 inch into the dough.
- Carefully remove the hot Dutch oven from the oven. Lower the parchment paper with the dough into the oven, cover, and return to the oven. Bake for about 30 minutes. Remove the lid and continue to bake for another 30 minutes, or until the bread is golden brown with an internal temperature of 205°F. Take the bread out of the pan and cool completely before slicing.
To Bake a Freeform Boule (On a Baking Sheet or Baking Stone)
- When you are ready to bake, cut off your desired amount from the dough. I baked free form loaves from portions about the size of a grapefruit on a baking stone. Dust the portion of dough with flour and very lightly knead and shape it into an elonglated ball. Lightly cover with plastic wrap on an inverted bowl and let it rest for 90 minutes.
- Preheat the oven to 350 degrees F. Place the rack in the center of the oven with the baking stone, if using.
- If baking on a baking stone, lightly dust the bottom of the loaf with cornmeal. Otherwise, place on a parchment-lined baking tray. Lightly brush the top of the loaf with melted butter. Bake for about 45 minutes, or until the bread is golden brown. Brush the top of the bread with a little more melted butter upon removing from the oven. Take the bread out of the pan and cool before slicing.
Notes
No-Knead Buttermilk Bread Tips/FAQs
- Can I use all-purpose flour? Yes, absolutely. If you swap out the bread flour for all-purpose flour, reduce the water to 2 cups.
- My dough feels wet, is that okay? No-knead doughs are generally wetter and stickier than standard dough recipes. I recommend flouring your hands before handling the dough, and if you must, add more flour about a tablespoon at a time.
- My dough isn't rising. Try to find a warm spot for your dough. How quickly your dough rises depends on your room temperature. If it's chilly in my house, I place my dough in a 100°F oven for a while, or a warm clothes dryer with the door oven.
- How long can I keep the dough in the refrigerator? Up to 5 days.
- Can I freeze the dough? Yes! Simply defrost the dough in the refrigerator overnight before baking.
- How long can I keep the dough in the freezer? Up to 3 weeks.
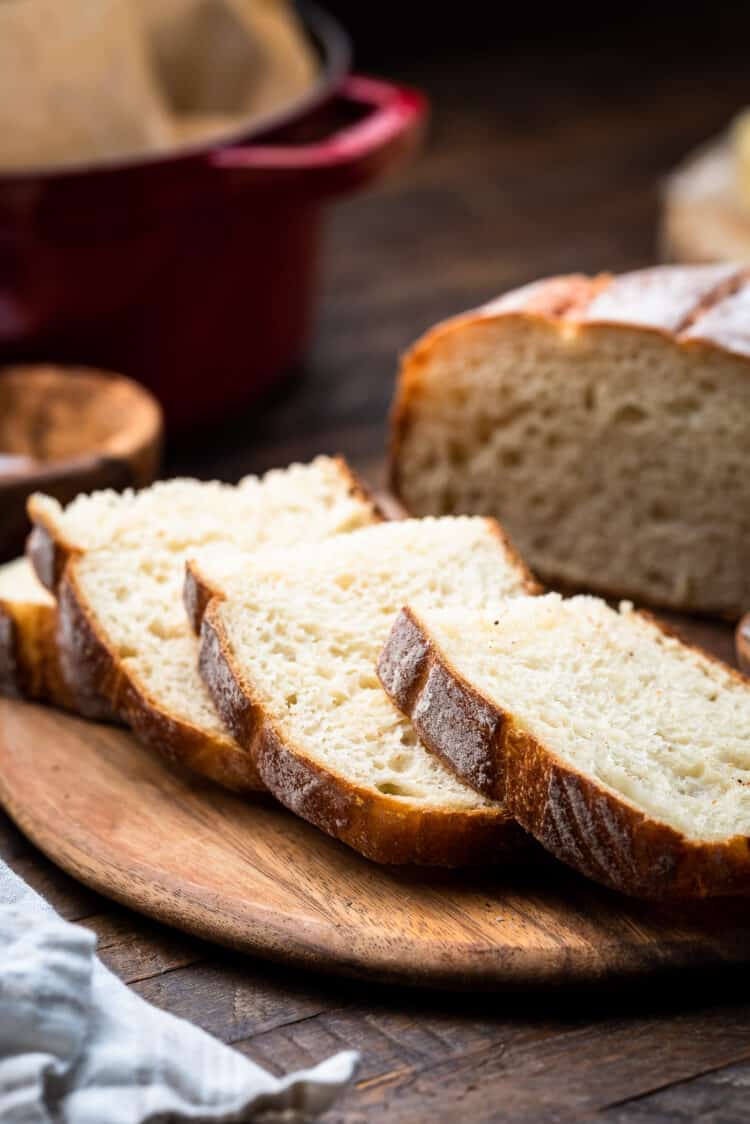
- How do I slice the bread? The first tip is to make sure that the loaf has fully cooled before slicing. If you try to slice into warm bread, it will be too soft and collapse under your knife. Use a serrated knife! Another tip is slice the loaf on its side to help keep its shape.
- How is the nutrition information calculated? This recipe make two large loaves (or smaller loaves, if you prefer) - the nutrition information is calculated per large loaf and not by individual serving size.













I’m going to give this a go this week! Can I use instant yeast instead of traditional yeast? Should i adjust anything?
No one’s buttermilk bread
I love no knead breads!~ Your recipe looks delightful and want to try to make it. I have a question about the buttermilk. Can I create the homemade version instead of store bought?
Easy to follow, smells like heaven while baking and tastes great. My dad stole a slice before it cooled, before I could even take a photo. I tried this recipe as my first attempt to bake with my Dutch Oven, so glad I picked this one.
I also picked it because of the no knead because I have mobility issues and standing for long periods is impossible. I made two loaves today and don’t have any pain or discomfort that’s how easy this was to make.
Highly recommend to anyone, just don’t use your hands to mix, it’s vvvvvvery sticky
Hello! Does the buttermilk need to be warmed for this recipe or is it ok to use cold right from the fridge?
Hi Kelsey! Great question. Ideally, use room temperature buttermilk to optimally activate your yeast. If your buttermilk is still chilled, it may take a little longer to rise.
Hello! I just started this bread tonight. I plan on leaving it on the counter overnight. Just curious about the taste? I am using buttermilk leftover from making butter not cultured buttermilk from the store which supposedly tastes sour and the natural buttermilk tastes a bit sweeter. Just curious if the bread is tangy or sour? Thanks so much! I am looking forwards to it!
Hi Amy! I hope you enjoyed the bread! The bread is not at all tangy or sour from store bought buttermilk, it just adds to the lovely texture and rise!
Can you make the one large artesian loaf and for how long and what temperature
Do I cause dough to collapse or does it collapse on its own. I’m baking this now and it has risen beautifully for two hours. I want to refrigerate it but wondering about the collapse!
Hi Diane! Depending on your room temperature, after about two hours, the dough will collapse on its own!
Absolutely loved this recipe! I’ve never made bread before and figured this would be an easy recipe to try. I followed the instructions and notes for all purpose flour and my bread turned out absolutely delicious! Thank you so much for the recipe!
You’re so very welcome, Nicole! I’m so glad you had a wonderful time baking your first loaves of bread!! Thank you for coming back to let me know how it went!!
My dough is in the refrigerator. How long will I need to leave it out on the counter before baking? Thanks for your help!
Hi Kate, when you are ready to bake, allow the dough to rest at room temperature for about 90 minutes. This information is included in the recipe instructions! Enjoy the bread!
Hi ! I’m new to baking and sometimes have trouble knowing actual measurements for recipes. When you say 6 1/2 cups of flour is it actually 6 cups of flour and a half or (6) halve cups total ?
Hi Jessica! I’m happy to clarify. 6 1/2 cups of flour is 6 cups plus an additional 1/2 cup. The same goes for the sugar; 1 1/2 tablespoons of sugar is 1 tablespoon of sugar plus an additional 1/2 tablespoon. Hope this helps!
I want to try this recipe! Sounds so good. I would like to know if I can reduce the recipe by one half, so 3 cups flour and half all the other ingredients. Would it still work?
Hi Claudia! Yes, you can certainly halve the recipe! So 3 1/4 cups of flour, etc. There’s also a slider on the recipe card that will help halve the measurements for you!
Dutch oven buttermilk bread
Hi, I was wondering how is the dough supposed to look/feel like once all the ingredients are mixed together? Is it a sticky dough or dry dough?
Thank you (the bread looks amazing!)
Hi Dana, the dough will definitely feel sticky, so don’t be tempted to work it over. It will turn out great! Hope this helps – let me know how it works out for you!
Thank you so much!! The bread was amazing
You’re so welcome, Dana! I’m glad you loved the bread!
Hi! I’ve been making this bread for a while now and it’s amazing. :) I’ve even added some toasted seeds and it still comes out great. However, I’m looking to use whole wheat flour, and I wanted to know if you’ve tried it before or if you think it would work. Thanks! :)
Just an FYI: in the above recipe there is a typo in the recipe list of “1 tablepoon granulated yeast”.
Feel free to delete this comment or don’t approve this once it’s been corrected.
Love your site, BTW, and my friend made your Lobster Corn Chowder last night. It turned out great! Thank you.
So you heat up the Dutch oven for 90 min while dough is resting?
I blog quhite often and I truly appreciate your content.
Thhe article has truly peaked my interest.
I am going to bookmark your website and keep checking for
new detailss about once per week. I subscribed to
your RSS feed too.
What beautiful bread, Liren! Between your bread and Laura’s buns, I’m convinced I need to add this book to my cookbook library.
When you bake in Dutch oven do you put it in the oven while your dough sits on counter for 90 minutes ? That is a very long time for the dutch oven to sit in oven empty at 375 degrees help !! I am making this as I type, thanks forany help
Oh, these loaves are gorgeous! Thank you so much for trying out the new book! Cheers, Zoë
And thank you for a wonderful book, Zoë! It’s incredible, I can’t wait to try more!
i made this bread this morning, and wow, it’s so easy to make and is very tasty. thanks for sharing the recipe.
I’m so pleased you made the bread and enjoyed it, Tami :)
Gosh this sounds good, I’ve been making a lot of soup & some homemade bread would be it’s perfect partner.
They really do go perfectly together, don’t they. I’ve certainly been eating a lot of soup and bread lately, tis the season!
I made this today…just ate a piece! It was so easy and is delicious. I have half the dough in the fridge for the weekend!
Thrilled you enjoyed it, Judy!
I made rolls using the Buttermilk AB in 5 recipe and they were the absolute hit of our family dinner! Besides being delicious they were so simple to make for an otherwise hectic meal preparation. We will making these again at future family gatherings.
Dale, it makes me so happy to know they were a hit! Isn’t it nice to know that good bread doesn’t have to be complicated?
I’m looking forward to making these lovely little loaves! Thanks for the post.
My pleasure, Bonny! I hope you enjoy them as much as I did!
Your vacation sounds exactly like mine! Waiting up naturally and finding a warm cup of coffee next to my bed has been my favorite part of my whole break. I’ve even spent the last week wearing the same over-size sweater (until my boyfriend kindly pointed out that I was starting to smell because of the thing).
This homemade bread sounds like the perfect way to lazily spend an afternoon in the kitchen.
I’m so glad that you’re having a relaxing vacation, too, Shelly. Nothing wrong with favorite, cozy sweaters :)
..seems like you are having a great winter break :) and this book sounds like something I should get too. lovely boule there.
Thank you, Dixya! I hope you are enjoying the holidays, and especially the New Year!
I’m a huge fan of TheNewABin5. Love this bread!
I daresay my life is sweeter now that I have this book, too!
This looks really good. I’m going to have to get this book. Thanks for sharing this recipe.
I highly recommend the book, Jodee, it is now my go to when it comes to bread!
I love making no knead bread but I doubt I’ve ever made one that looked this good. It’s summer down here so I can dream about cold weather snuggling and wearing fleece.
I would be happy to trade for a day, I am starting to miss summer, Maureen! I’ll take solace in the bread, though!