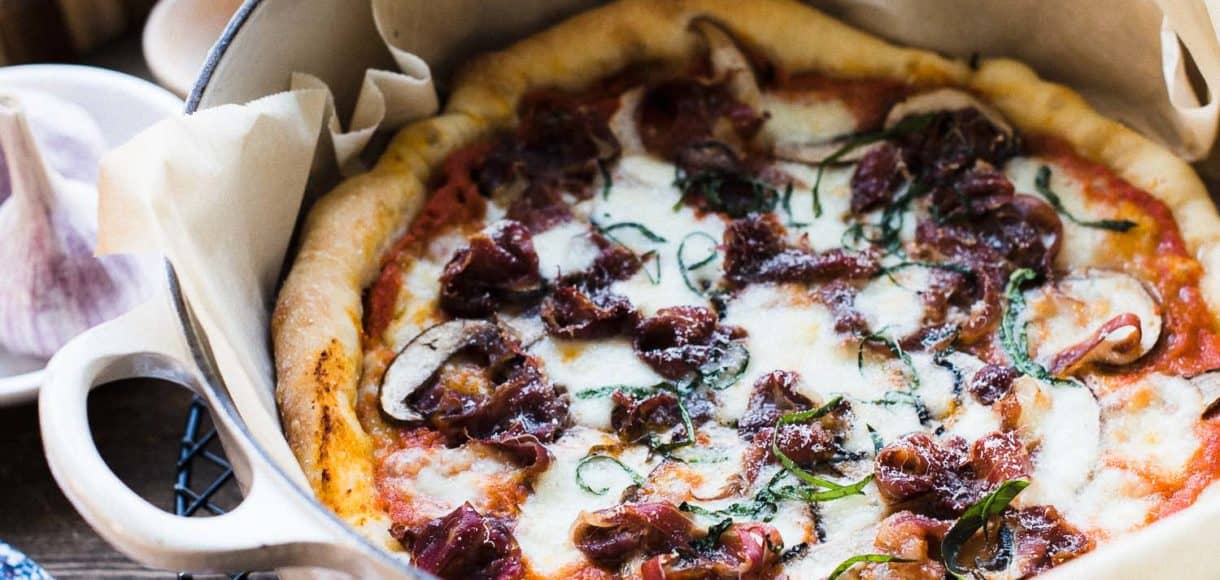
Dutch Oven Pizza
No pizza stone? Dutch Oven Pizza to the rescue! Use a Dutch Oven to make perfect pizza baked in the oven—or even to make campfire pizza!
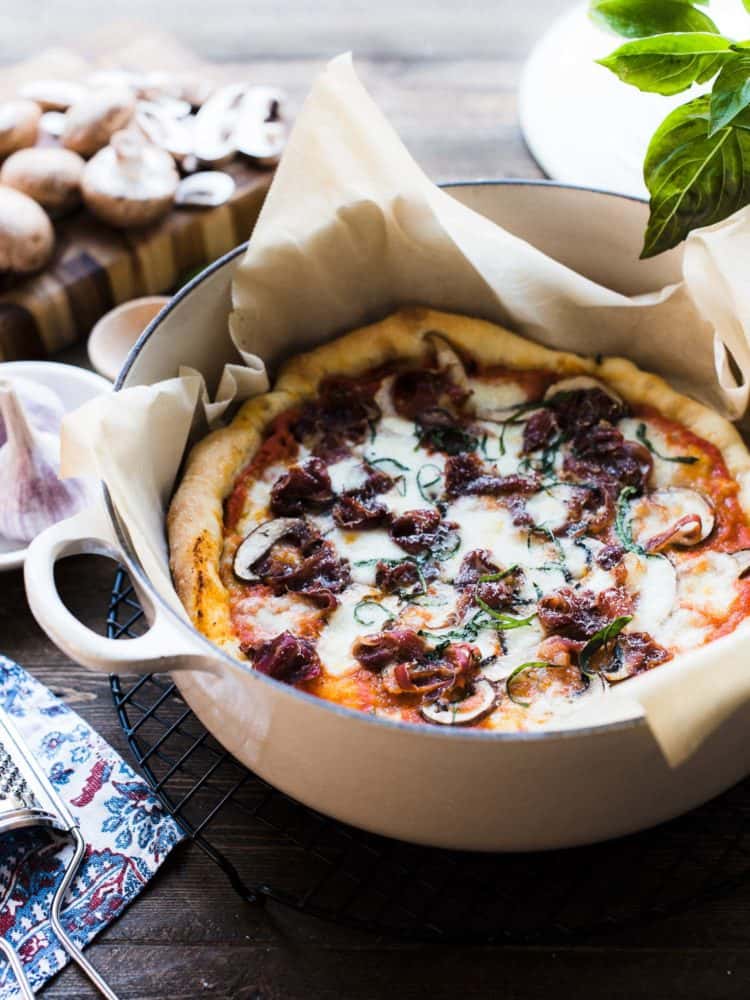
No pizza stone? No worries! Learn how to make pizza in a Dutch oven for perfect pizza baked in the oven, or even when camping!
It all started when my pizza stones shattered during our move. That was nearly three years ago.
I never bothered to replace them. I’m not sure why, exactly; I guess it’s one of those items that get bid to lowest priority, despite how much I relied on them once upon a time, from pizzas to rustic loaves of bread.
But I did notice the difference when the carb cravings returned and I turned to baking again. Pizza crusts were never crispy enough, my loaves didn’t have that signature thud when I would tap on them, or the satisfying snap when torn in half.
Until I realized I had a solution right under my nose.
And it wasn’t ordering new stones from Amazon.
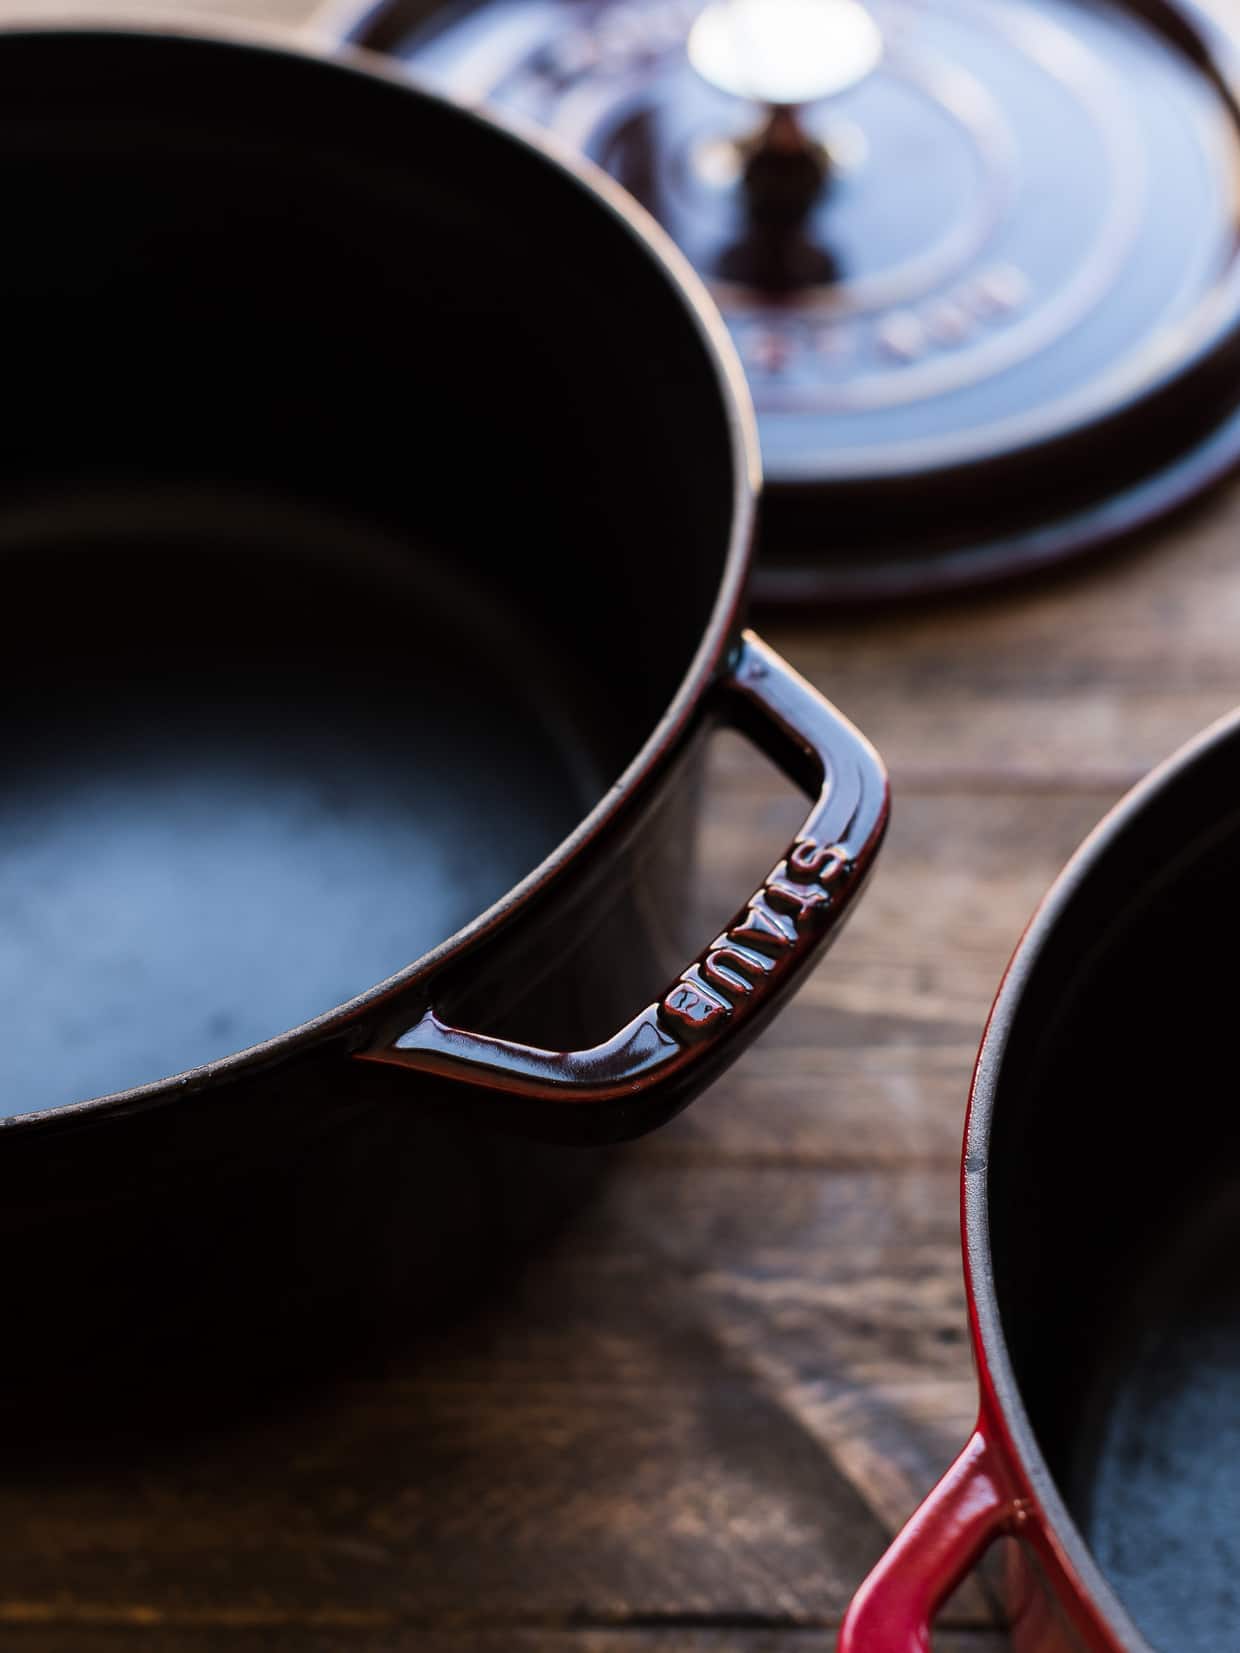
My Dutch ovens! I cook with them every week, bubbling and braising, and my little aha moment: baking no-knead bread in it!
If bread bakes beautifully in a Dutch oven, surely, I could get decent results with homemade pizza, right?
HOW TO MAKE DUTCH OVEN PIZZA
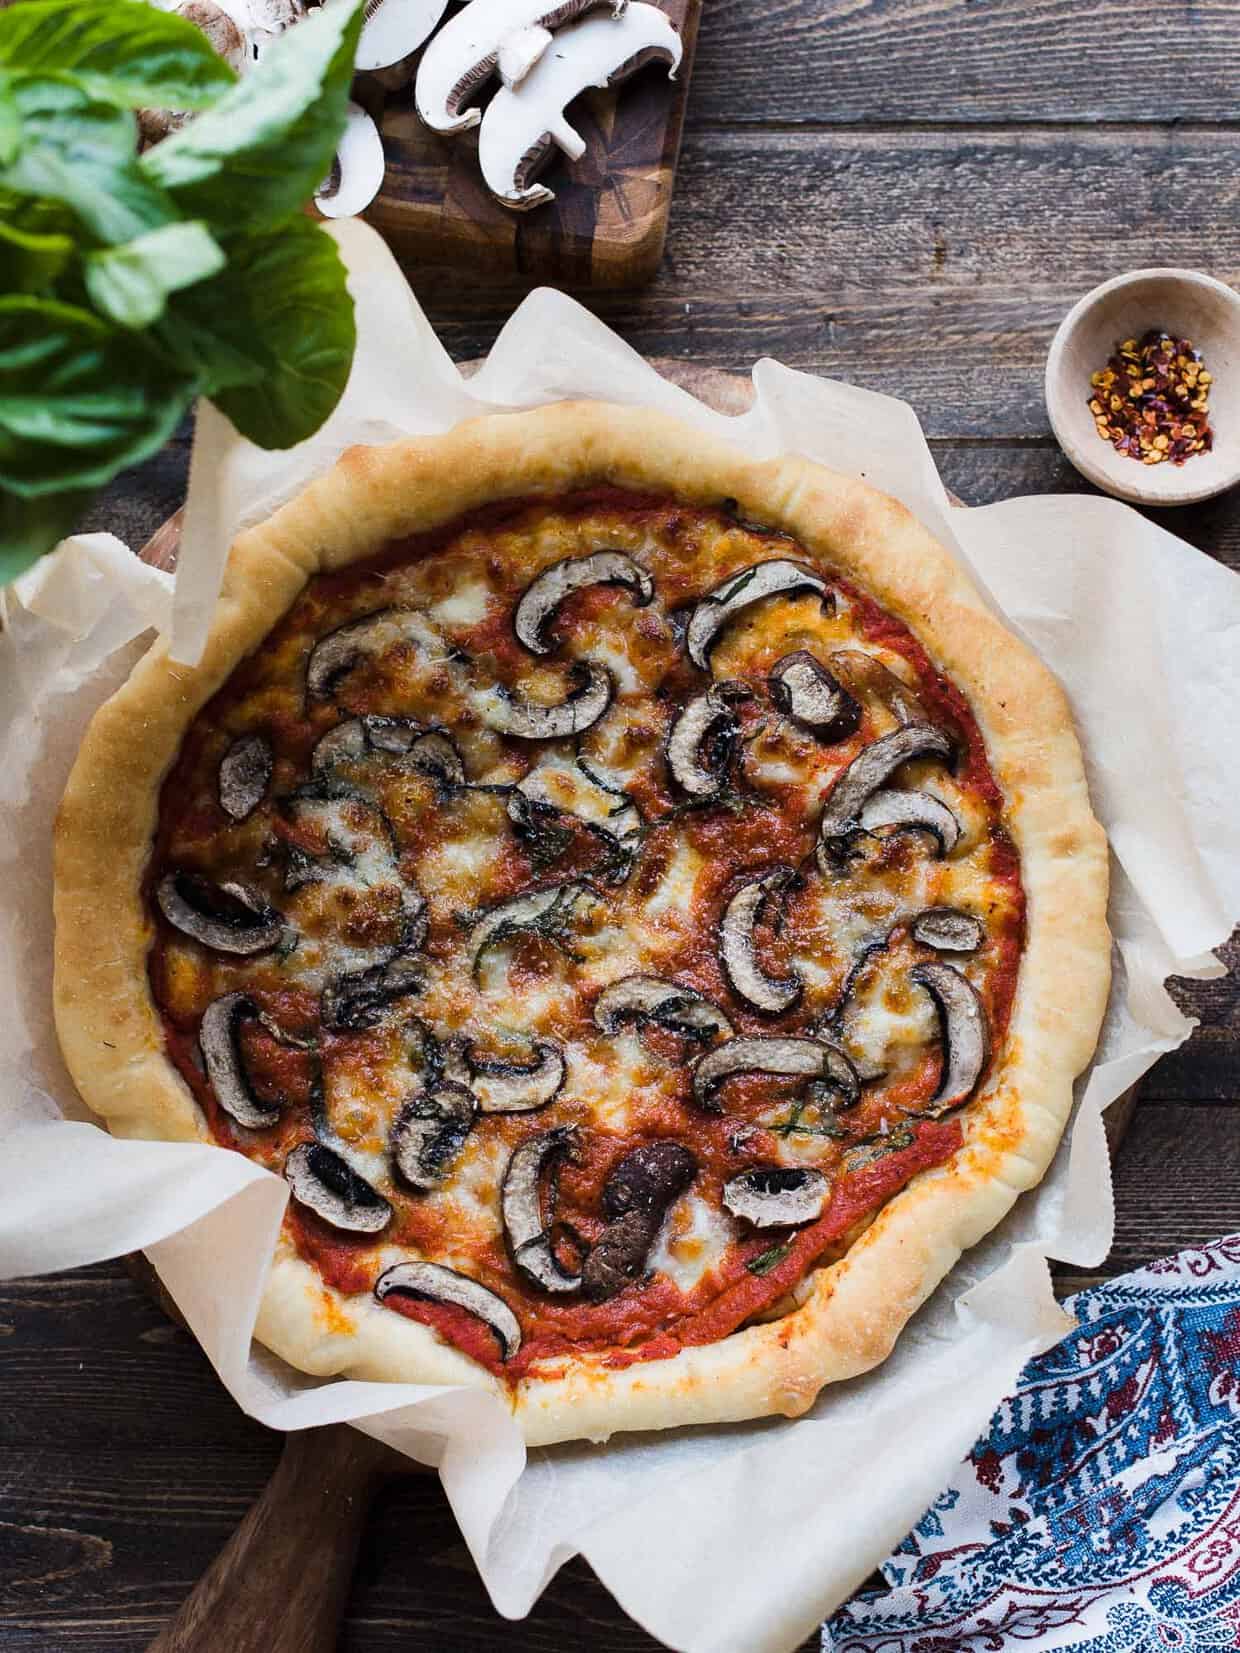
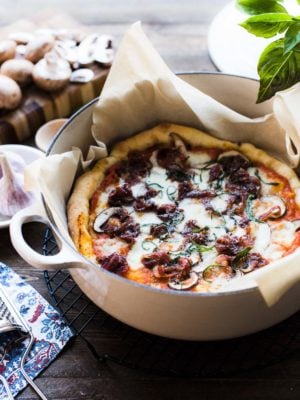
I’m so excited to share with you, that YES, if you have a Dutch oven, you’ll find that it’s the secret to perfect homemade pizza! It’s taken me a bit of practice to figure out the best way to transfer my pizzas into and out of the cast iron pot, so for this, I just rely on parchment paper. Using this and a small paddle, I am able to sling and lower the pizza into the preheated Dutch oven, nestling it into bake. But really, I find it very simple, and even easier to help retain that perfect circle shape! If you’ve ever tried to slide a stubborn pizza with a bit of sticky dough onto a baking stone, then you’ll know what I mean.
The thick cast iron proves a perfect surface for pizza to develop a crispy crust, the walls coaxing the cheese to melt over whatever toppings you wish. This has become my favorite way to make homemade pizza at home, and I know you will love it, too.
HOW TO MAKE CAMPFIRE PIZZA
P.S. If you’re going camping and have a Dutch oven with a lid, try this method out over your campfire! Just prepare the pizza, preheat your Dutch oven over the campfire, and bake with the lid on (leaving a crack for steam to escape) for about 30 minutes. Doesn’t campfire pizza sound much better than franks and beans? Don’t get me wrong, I do love franks and beans, but…pizza! See notes for making campfire Dutch oven pizza in the recipe below.
RECOMMENDED TOOLS & PRODUCTS
- Le Creuset LS2501-3016SS Signature Enameled Cast-Iron Round French (Dutch) Oven, 9-Quart, White
- Lodge 9 Quart Cast Iron Dutch Oven. Pre Seasoned Cast Iron Pot and Lid with Wire Bail for Camp Cooking
- Camp Chef Classic 12″ Dutch Oven
- Staub 1103091 Round Cocotte Oven, 9 quart, Dark Blue
- Bob’s Red Mill Artisan Bread Flour, 5 LB
- Ateco 20175 French Rolling Pin,20-Inch, Solid Maple Wood, Made in Canada
Disclosure: This post contains affiliate links.
ENJOYED THIS DUTCH OVEN PIZZA RECIPE?
MORE PIZZA RECIPES
Slow Cooker vs Pressure Cooker vs Dutch Oven: What Should You Buy?
Ricotta Pizza with Prosciutto and Fresh Pea Salad
Grilled Vegetable Pizza
Saag Paneer Naan Pizza
Chicken Pesto Pizza
Blueberry, Feta and Honey-Caramelized Onion Naan Pizza
Dutch Oven Pizza
Ingredients
For the Pizza Dough:
- 4 1/2 cups bread flour or all-purpose flour (find bread flour here)
- 1/2 tablespoon granulated sugar
- 1 tablespoon kosher salt
- 1 envelope instant dry yeast (7g)
- 3 tablespoons olive oil plus more for brushing
- 15 oz lukewarm water
For the Pizza Sauce:
- 1 15- oz canned tomatoes i.e. San Marzano tomatoes, drained
- 2 cloves garlic finely grated
- 1 teaspoon kosher salt
- 2 teaspoons olive oil
- pinch of granulated sugar
- freshly ground black pepper
Toppings:
- 8-10 oz whole mozzarella sliced in 1/2-inch cubes
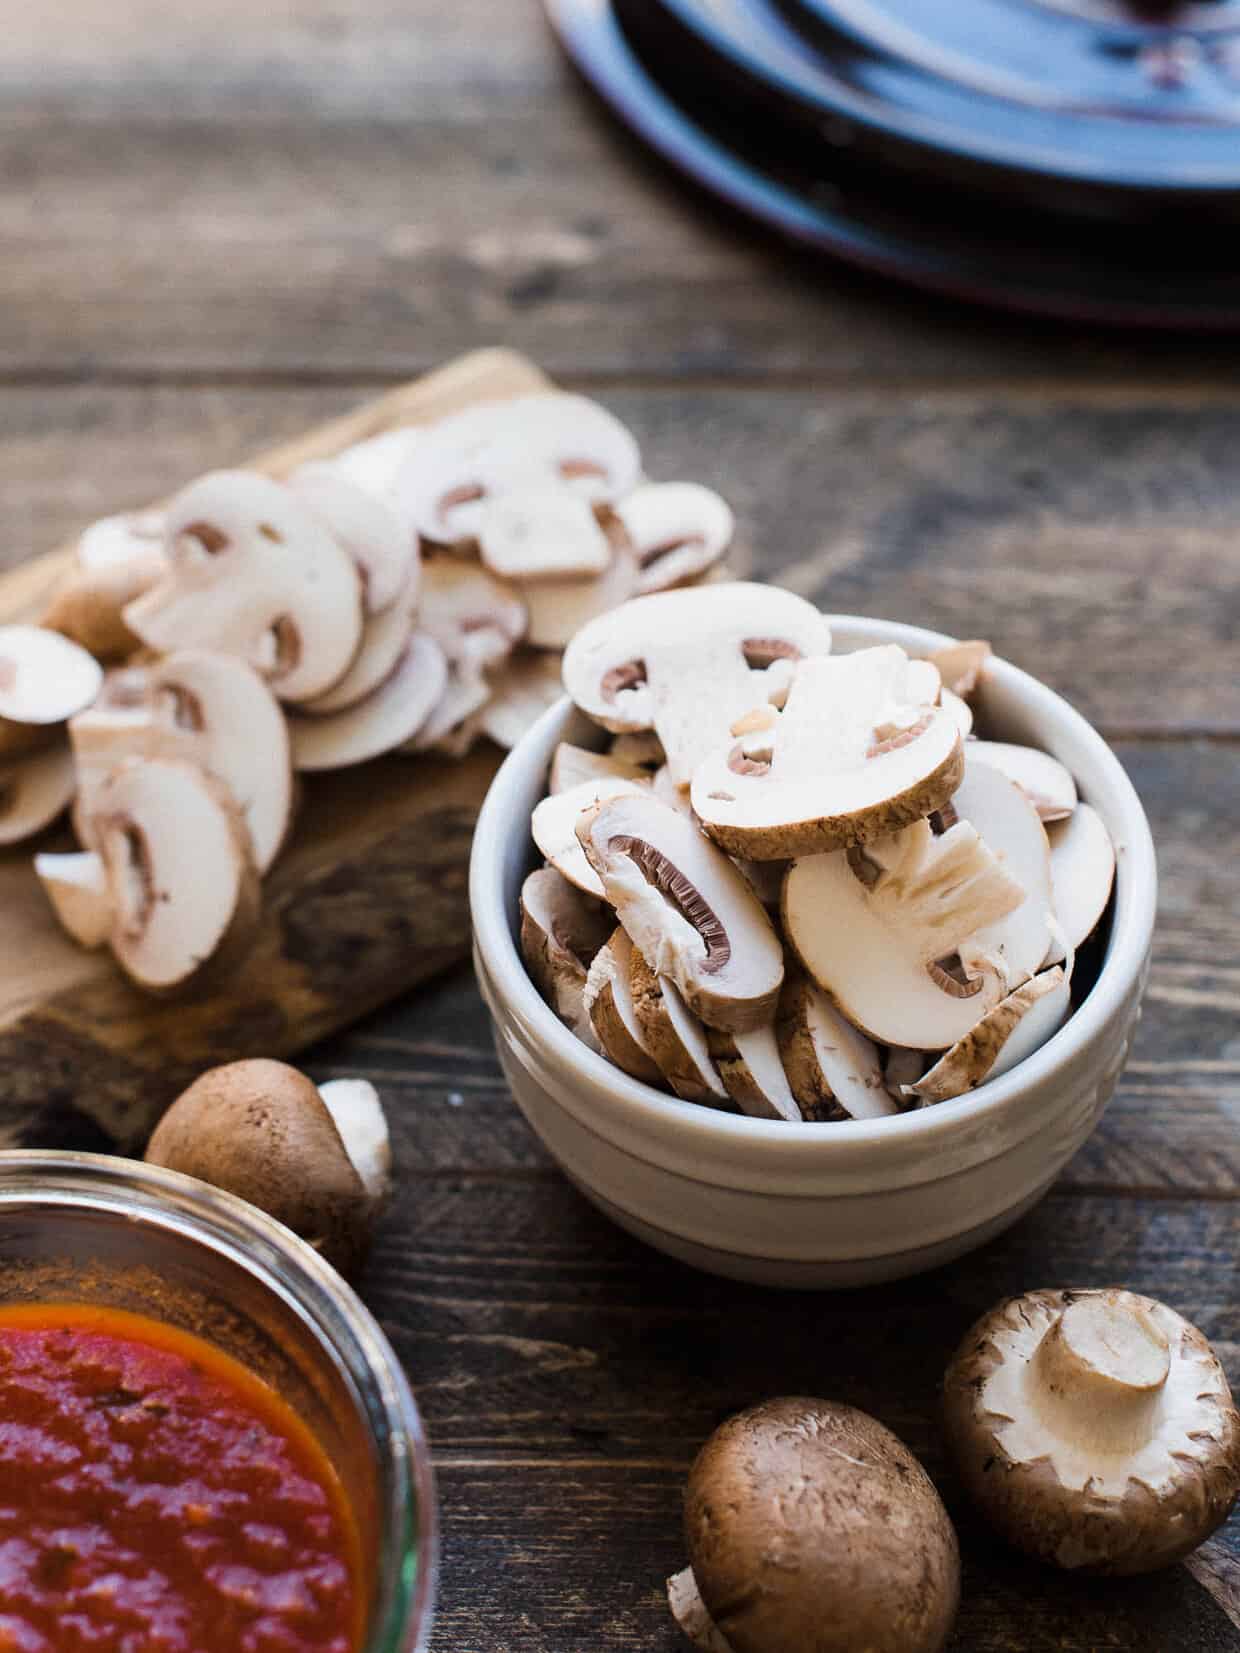
- your favorite toppings we love mushrooms, olives, and prosciutto
- fresh basil chopped
- freshly grated parmesan cheese
Instructions
For the Pizza Dough:
- In the bowl of an electric mixer fitted with a paddle attachment or large capacity food processor with a dough attachment, whisk together the flour, sugar, salt and yeast.
- Add the olive oil and water, and mix until just combined. If using an electric mixer, replace the paddle attachment with a dough hook.
- Mix the dough until it comes away from the bowl and is smooth, then turn it out onto a lightly floured surface.
- Continue kneading the dough by hand until it is supple and passes the windowpane test.
- Divide the dough into three equal pieces, about 12-13 oz each, form into balls and place on a baking tray. Lightly brush with olive oil, cover with plastic wrap, and place in a warm spot to rise for about 1 1/2 hours.
For the Pizza Sauce:
- In the jar of a blender, puree the drained tomatoes. Transfer to a bowl.
- Stir in the grated garlic, salt, olive oil, sugar and pepper. Set aside or refrigerate until ready to use.
To make the Pizza:
- Preheat the oven to 450°F with a Dutch oven on the lowest part of the oven. You do not need the lid.
- When the dough has doubled in size, roll the dough on a lightly floured surface. Roll it out into a disk about 12 inches wide (Keep in mind the diameter of your Dutch oven – for this reason, the larger the Dutch oven the better, especially if you prefer thin crust pizza. See notes below.). If you find your dough is bouncing back and not rolling out, let it rest a little longer.
- Transfer the dough to a piece of parchment paper. Let the dough rest for a few minutes more, then roll out a bit more if you wish.
- Lightly brush the dough with olive oil, then spread a third of the sauce in a thin layer. Top with your preferred toppings and cheese, then grate parmesan cheese on top.
- Using a small paddle or cutting board, bring the pizza over to the oven. Carefully guide the pizza into the Dutch oven by using the parchment paper as a sling and sliding it off the board into the pot. If you find that the edges aren’t laying flat, you can use a wooden spoon to coax it in.
- Bake for 12-15 minutes, until the crust is golden and crispy, and the cheese is melted.
- Remove Dutch oven from the oven and use the parchment paper to lift the pizza out and onto a cutting board. Return the Dutch oven to the oven for your next pizza.
- Repeat for remaining pizzas.
- Enjoy!
For Campfire Cooking:
- The process is essentially the same. Preheat your dutch oven over a fire on a grate, or if you have a Dutch oven with legs, you can prepare it right in the coals. After you transfer your pizza into the Dutch oven, cover with the lid, leaving it open a crack to allow steam to escape. Baking time will vary, based on your heat, so allow about 30 minutes or so to bake.





Looks scrumptious, thanks for the idea. I have recently returned to making sourdough bread and have accumulated an assortment of Dutch ovens but never thought about using them for pizza. Question: I have one older Dutch oven that is a bit more shallow and I was going to throw it away because it’s too shallow for soups or bread but now I’m thinking pizza might be a good fit. Do you think that would work or does the pizza depend on a lot of “headroom” to built up the heat, simulating a pizza oven?
I’ve made pizza a lot of ways, a Dutch oven not being one of them. I can’t wait to try this out!! You photos are making me hungry!
You’ll have to let me know what you think when you give it a try, Cortney!!
What size dutch oven is shown?
Hi Dawn, I use the size 30 Le Creuset Round Wide Dutch Oven, which is about 6.5 quarts in capacity. Hope that helps!
Well I certainly would not have thought of this! It’s a great idea, and limits any spillage!!!
It definitely keeps things neat and easy! Thank you!
Hi!
thank you for the recipe! Do you leave the lid on while the pot is in the oven? And I was just wondering if this would work in a Le creuset braiser in 30cm. Would it matter that the sides are not as high as the Dutch oven? Thank you!
Hi Tan! I keep the lid off when baking, and it would absolutely work in your Le Creuset bruiser! In some ways, that makes it easier to get the pizza in and out — I have something similar and it works perfectly. The key is the Dutch oven replicating the pizza stone for the bottom of the pizza crust!
Please advise if I can use Dutch oven to make pizza on stove top. My oven is too small to contain Dutch oven that I have.
I haven’t tested it on a stove top but I have made a skillet flatbread on the stovetop, so the concept should work! The method I use for the skillet flatbread is a little different, though. Please let me know if you give it a try.
I had a much tinier Dutch oven (4.3) and made little tiny mini pizzas with it. I never thought to use it for pizzas even though I’d already been using it for boules. It turned out to be a really good way to try a bunch of different ideas out on a smaller amount of dough. Thanks for the article!
Hi William, I’m thrilled that you enjoyed this method of making pizza — mini pizzas are so fun!
SO SO GOOD! I add a little bit of honey and chopped basil to the dough but have made this recipe twice in the last few weeks. Amazing with whatever toppings and sauce you like – the dutch oven creates a really nice, thick crust that’s perfect for dipping into left over sauce. Everyone raves about this pizza and I HIGHLY recommend cooking your pizza this way (even if you own a pizza stone!). SO MUCH BETTER!
I’m so happy you loved making dutch oven pizza! I agree, the crust is the best part!!
I love the campfire pizza idea! Thank you very much for the recipe! The pizza looks so great!!!
We have a pizza stone but sometimes I don’t feel like hauling it out to the grill (it’s heavy!!). This is the perfect solution for those nights :)
Liren, I love this idea. I have the super large Le Creuset and I am definitely going to give this recipe a try.
Maybe I should have read the post more carefully or looked at the picture with the piece of parchment paper. Oy…MONDAY.
Monday, indeed! Don’t worry, I have a case of the Monday brain, too. Yes, parchment paper is a must when it comes to baking the pizza in the Dutch oven — makes it so easy! :)
oooh! This is intriguing. I’ve made bread in the Le Creuset once and loved it. Why haven’t I made it again. The pizza looks great…I’m only concerned about removing it from the Dutch Oven if it’s not shallow enough…